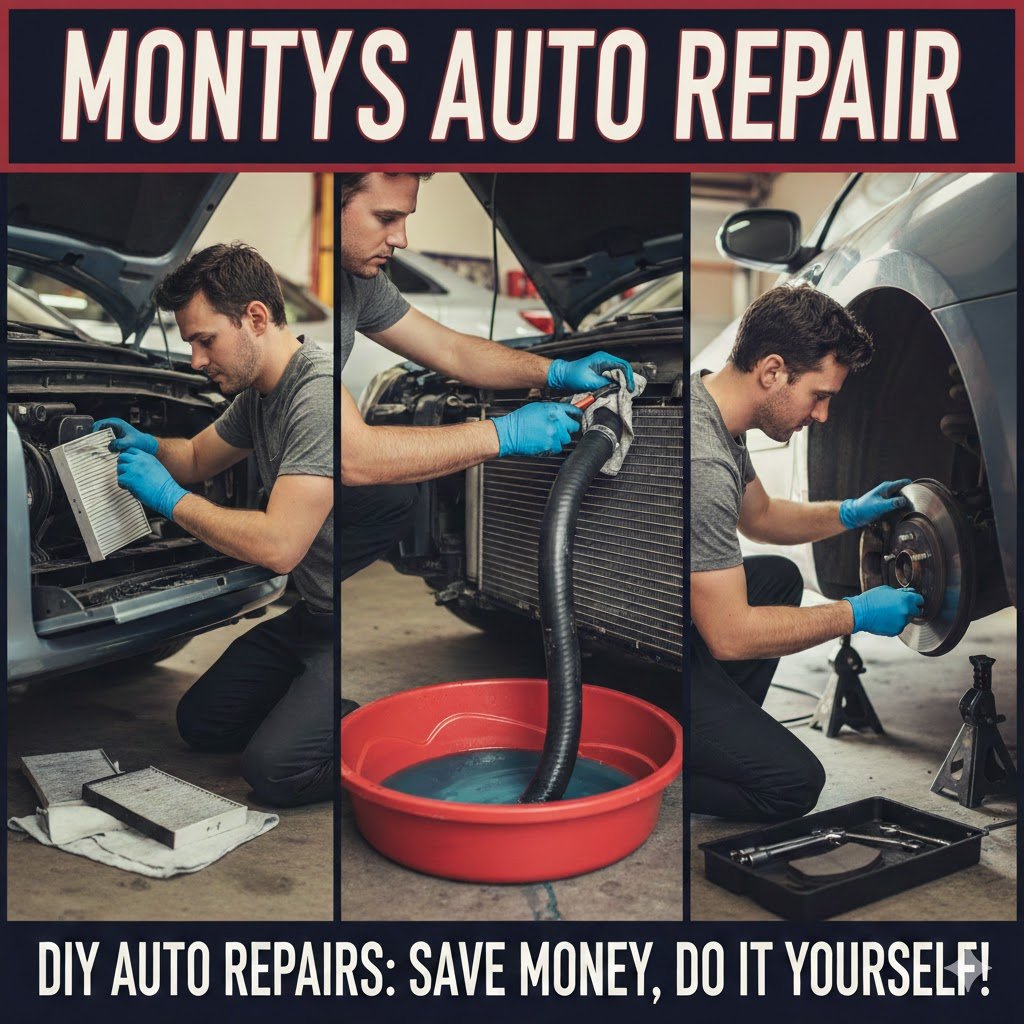
Here are three repairs you can tackle in your own driveway to keep your car (and your wallet) in tip-top shape.
Maintaining your car doesn’t always require a trip to the mechanic and a hefty bill. Many routine tasks are surprisingly manageable with a few tools and a bit of patience.
If your AC smells a bit musty or the airflow feels weak, your cabin air filter is likely the culprit. This filter traps dust, pollen, and debris before they enter your interior.
Difficulty: Easy
Time: 5–10 minutes
Tools: None (usually)
How to do it: Most filters are located behind the glove box. Simply empty the glove box, unclip the limiting arm, and let the box drop down. Slide out the old filter, slide in the new one (paying attention to the airflow direction arrows), and click everything back into place.
Monty’s Tip: Check your owners manual for cabin air filter location.
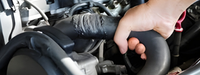
2. Swapping a Radiator Hose
Rubber hoses eventually wear out, crack, or become “squishy,” which can lead to leaks and engine overheating. Replacing them proactively is a smart move.
Difficulty: Medium
Time: 45–60 minutes
Tools: Pliers or screwdriver, drain pan, new coolant
How to do it:
Wait for the engine to be completely cool.
Never open a hot cooling system!
Drain the coolant into a pan.
Loosen the clamps at both ends of the damaged hose using pliers or a screwdriver.
Twist and pull the old hose off (have a rag ready for drips).
Install the new hose, tighten the clamps, and refill the system with the correct coolant mixture.
Monty’s Tip: Carefully slice the old hose with a razor knife at the ends to avoid breaking the radiator outlets.
3. Changing Your Brake Pads
Brake maintenance is the ultimate “DIY win.” While it sounds intimidating, disc brakes are remarkably logical systems once you get the wheel off.
Difficulty: Intermediate
Time: 1–2 hours
Tools: Jack and stands, lug wrench, C-clamp, socket set
How to do it: After securing the car on jack stands and removing the wheel, loosen the bolts holding the brake caliper. Pivot the caliper off the rotor, remove the old, thin pads, and use a C-clamp to gently compress the piston. Slide the new pads into the clips, bolt the caliper back on, and pump the brake pedal several times before driving to reset the pressure.
Changing a tail light bulb is one of the quickest wins in DIY car maintenance. It’s usually a simple “plug-and-play” job that keeps you safe and ticket-free.
Difficulty: Very Easy
Time: 5–10 minutes
Tools: Usually just a Phillips-head screwdriver (check your owner’s manual)
Change your own Tail Light Bulbs
How to do it:
Access the Assembly: Open your trunk or tailgate. Look for the screws holding the light housing in place, or check for an access panel inside the trunk lining directly behind the light.
Do It!
Remove the Housing: If screws were on the outside, gently pull the entire plastic light assembly away from the car. If you’re using an interior panel, you’ll reach directly into the back of the assembly.
Unplug the Bulb: Find the wire harness leading to the burnt-out bulb. Twist the plastic bulb socket counter-clockwise to unlock it, then pull it out.
Swap the Bulb: Pull the old bulb straight out of the socket and click the new one in. Pro tip: Avoid touching the glass of the new bulb with bare fingers; oils from your skin can cause it to overheat and burn out early.
Reinstall: Pop the socket back into the housing, twist clockwise to lock it, and secure the assembly or panel.
Call Us or come by for your parts or service needs!
Call Monty’s with any questions you might have. We are happy to help!